Pre Setup
1. Make sure the extension (OpenCart) / plugin (WordPress) Google Authenticator is installed on your system.
2. Install Google Authenticator app via Play Store.
WordPress
Follow the steps below to setup Google Authenticator code for CMC WordPress based administration login.
1. Login to admin page:
{web_address.com}/wp-admin
Enter the username/email and password provided earlier.
Skip the Google Authenticator field and click the Log In button.< /p>
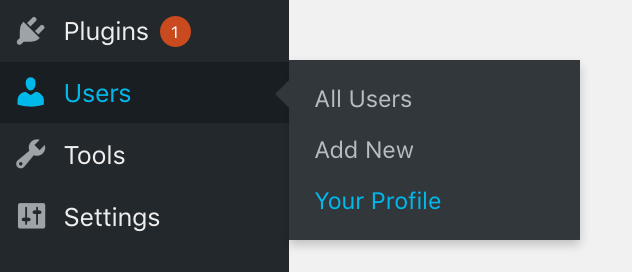
2. Enable Google Authenticator for your current account. How, access:
Users → Your Profile
3. Then activate Google Authenticator on your current account with :
– Check the column Active.
– Click Create New Secret
– Click Show/Hide QR Code
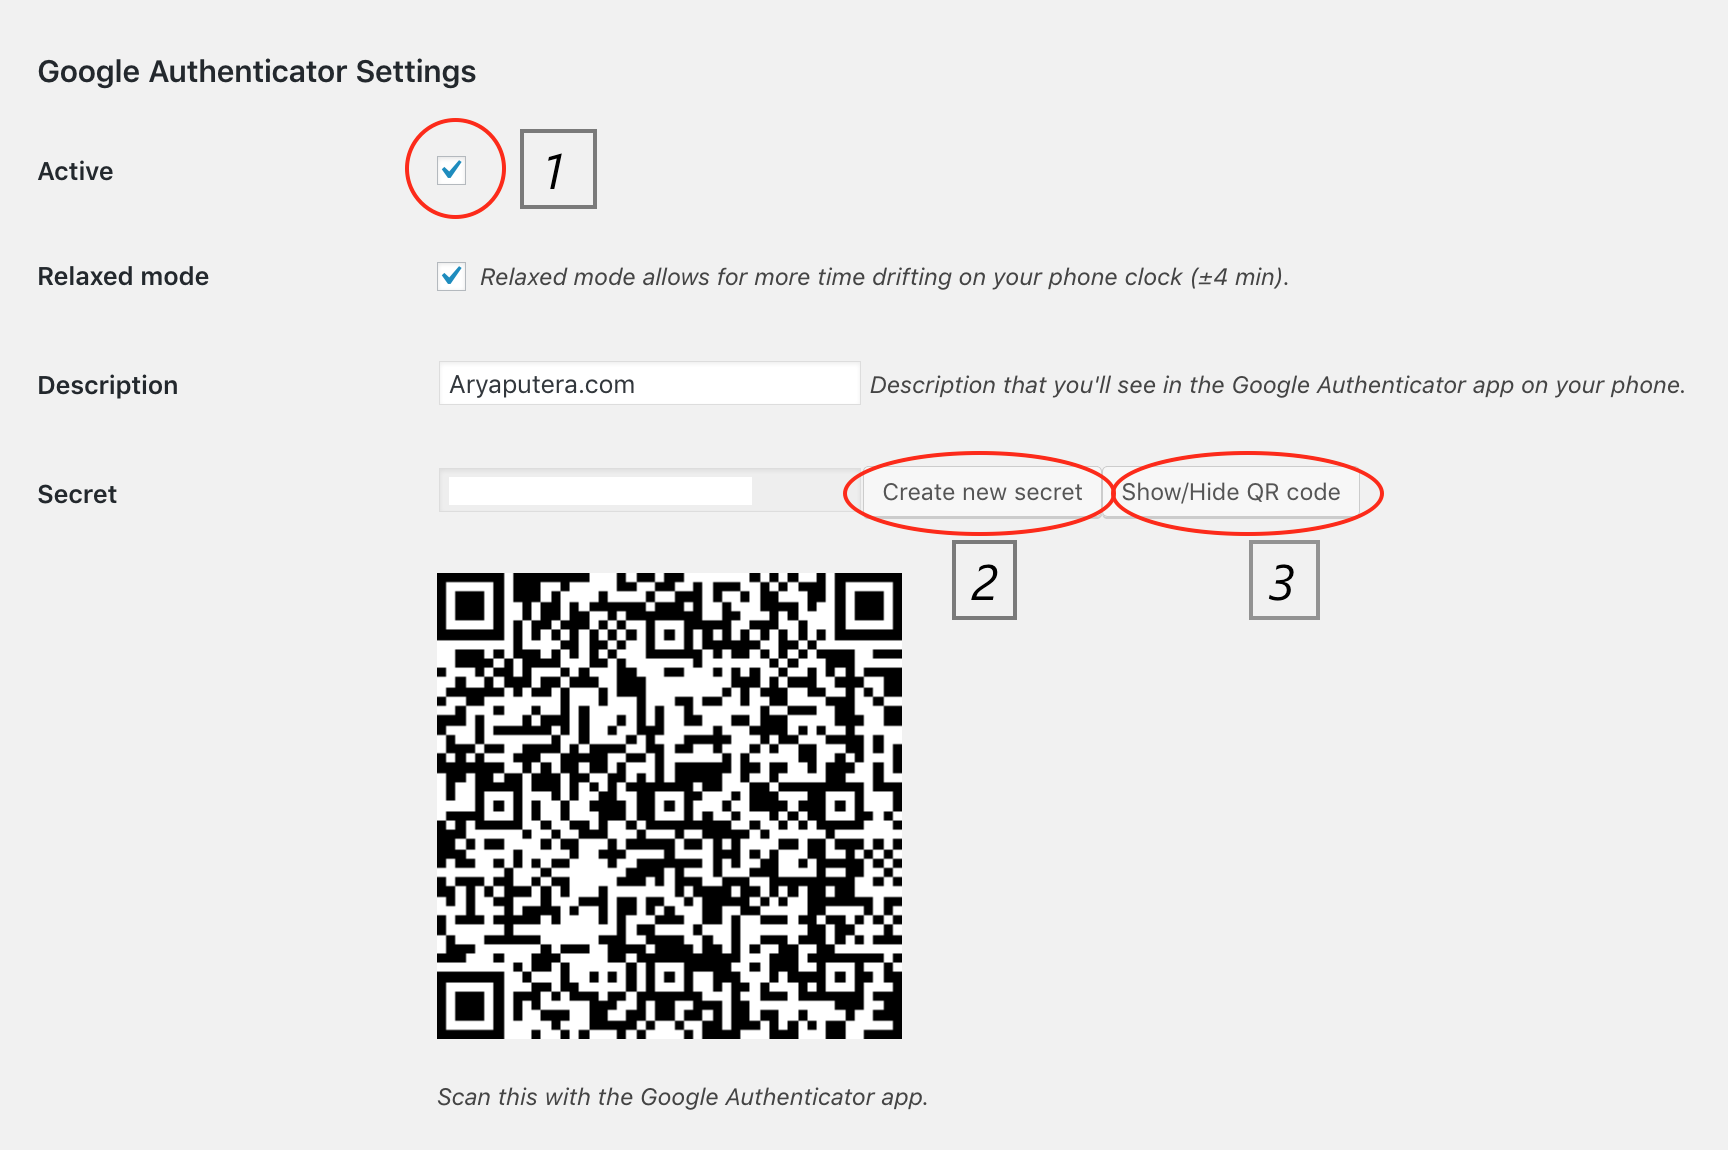
After the QR Code appears, scan it with the Google Authenticator app.
Open the Google Authenticator app, tab the Add button and select Scan new barcode.
After getting the code you can immediately click save.
4. Save changes by clicking Update Profile at the bottom of the page.
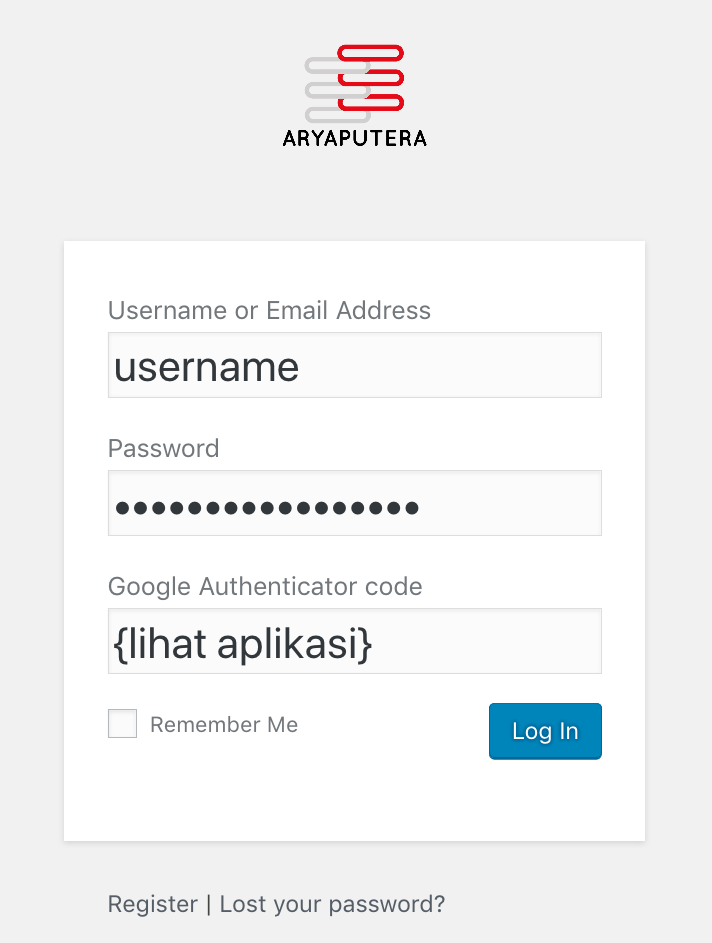
5. For testing purposes, Logout from the admin page.
Then try logging in with a valid username and password input.
Then also input the Authenticator code. Open the Google Authenticator app on your smartphone.
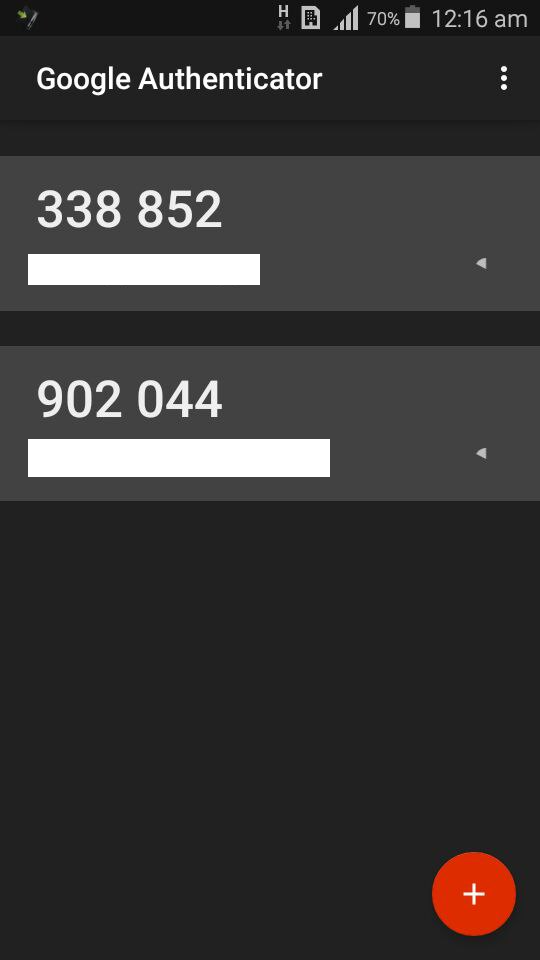
and input in the Google Authenticator Code column as below.
Congratulations. You have successfully setup Google Authenticator on your website platform.