HP Auto Cancel module for OpenCart is a module that can be used to change the order status automatically at certain time intervals, for example if you want to change the order status to expired if 3 days have passed without being paid. In this article, we will present a guide to using the HP Auto Cancel module starting from preparation for installation, installation to configuration and an explanation of the features provided.
Pre Install
- Please follow pre install section here if you haven't proceed one before: https://hpwebdesign.io/pre-install
- After completing the above steps, you can proceed with the installation as follows:
NB: You can disable base theme modification after installation.
Installation
- After purchasing the HP Auto Cancel Module, you will receive a file with the format name XXXX.ocmod.zip.
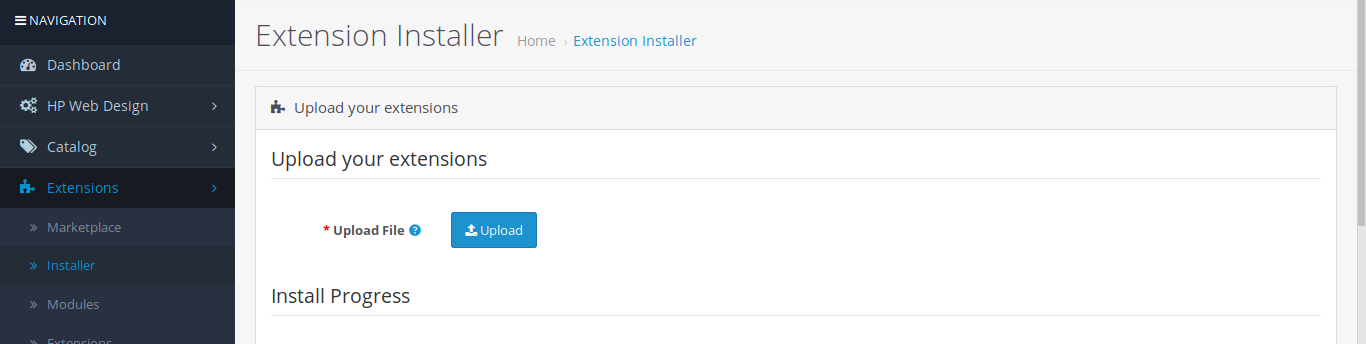
- Go to Extensions page → Extension Installer, then upload the file with the name XXXX.ocmod.zip earlier.
- Go to Extensions page → Modify then click the Refresh button to apply the changes to the system.

- Go to Extensions page → Extension → Module, then click the Install button on the HP Auto Cancel module, the installation is successful if the uninstall button appears as shown below.

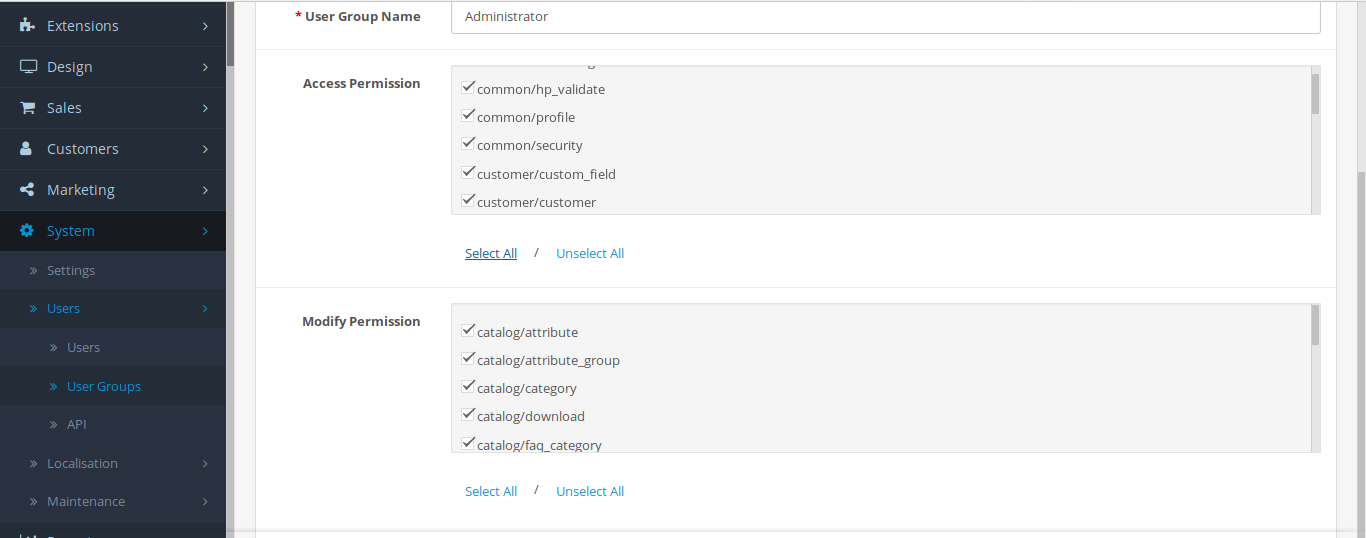
- Go to System page → Users → User Groups, and then click the Edit button in the User Group Administrator. Click Select All in Access Permissions and Change Permissions, then save.setting-permission
- Make sure the HP Web Design → HP Auto Cancel menu appears, if not, please pay attention to the steps above, maybe you missed something.
- When you first open the HP Web Design → HP Auto Cancel page, the following page will appear. Please validate your store by contacting our admin, click the Contact Us button provided.

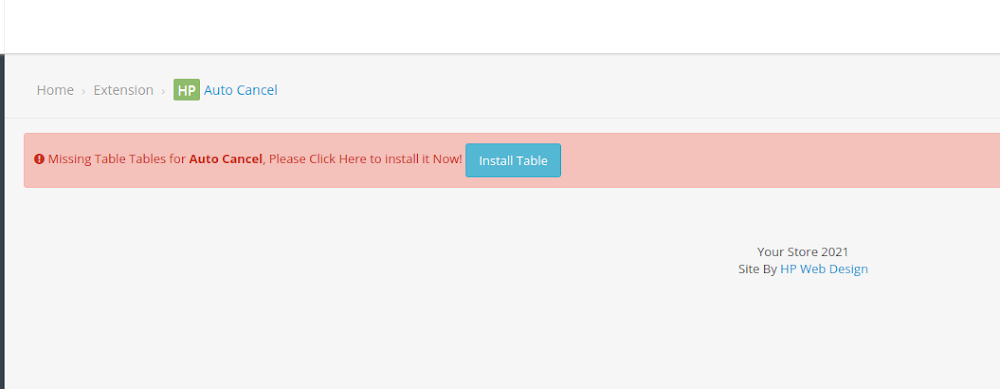
- After the validation process is successful, the Auto Cancel module settings page will appear, but if you find a warning like the image below, please click the install table first to enter the settings page.
Configuring the HP Auto Cancel Module
Please navigate to HP Web Design → HP Auto Cancel. The settings page will open as shown below.
The image shows the table of rules that will be used to change the order status, in order to better understand the function of this module, let's try to create a rule where “If the order status is pending and does not change for 3 days then change the status to expired“ .
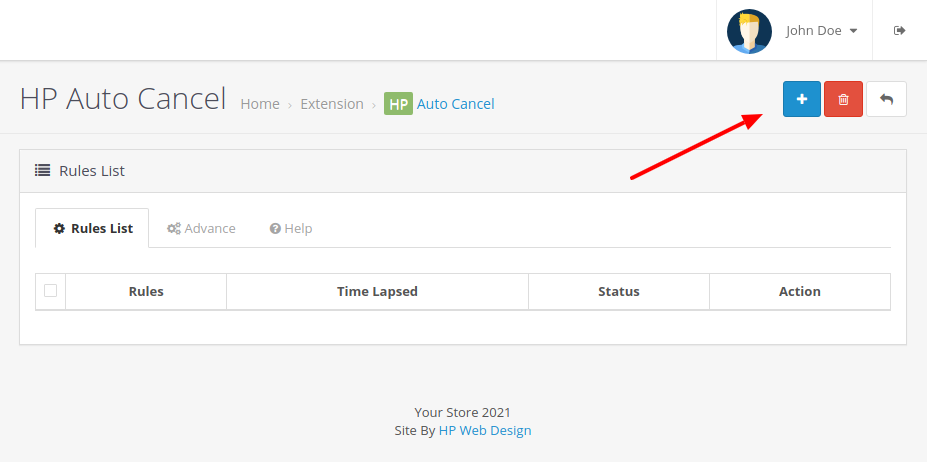
To create a new rule, please click the plus (+) button in the upper right corner, a form will open as shown below. I've filled out the form with the rules we planned in advance.
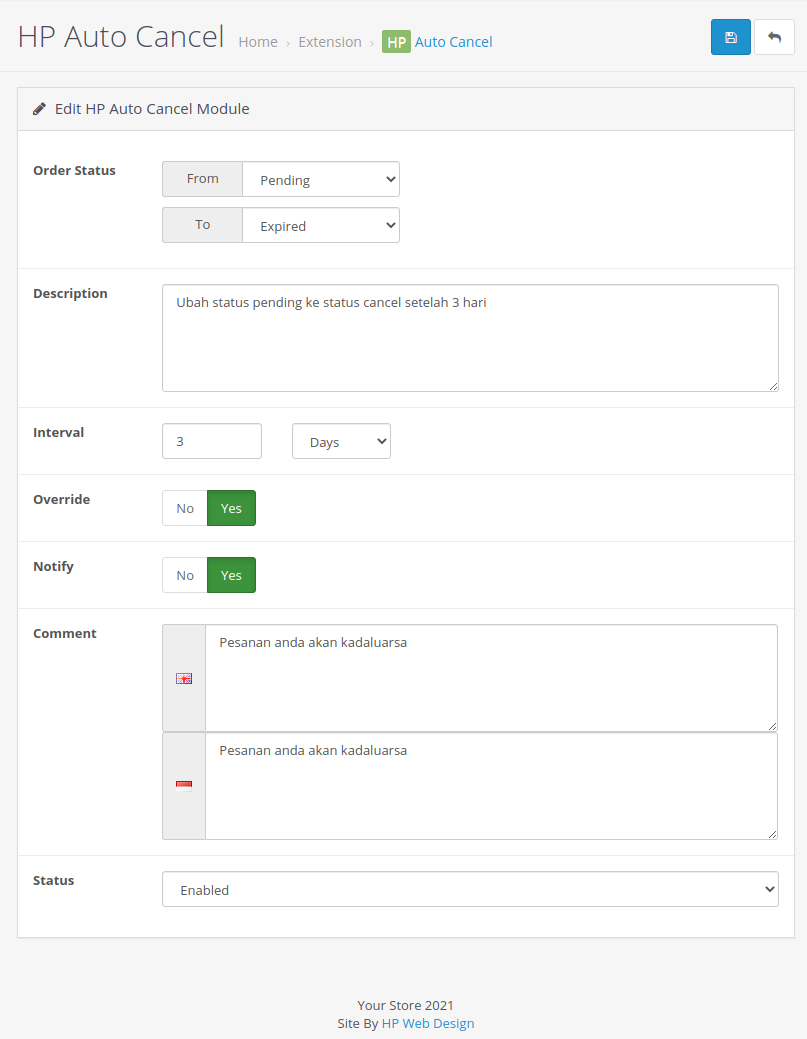
Explanation of the above form
Order Status I set it from pending to expired, meaning that only orders with pending status will be changed to expired.
Description, serves as a note to admin regarding the rules made.
Interval is used to change order status after 3 days.
Replace, select yes if customer order is blocked from changing order status due to anti-fraud extension.
Notify, if yes then a comment will be sent to the customer. Otherwise, the comments will be hidden and only visible to the admin.
Comments, are comments about order status that can be viewed by customers or admins.
Status allows you to enable or disable a rule without deleting it.
If it's what you want, please click save in the upper right corner.
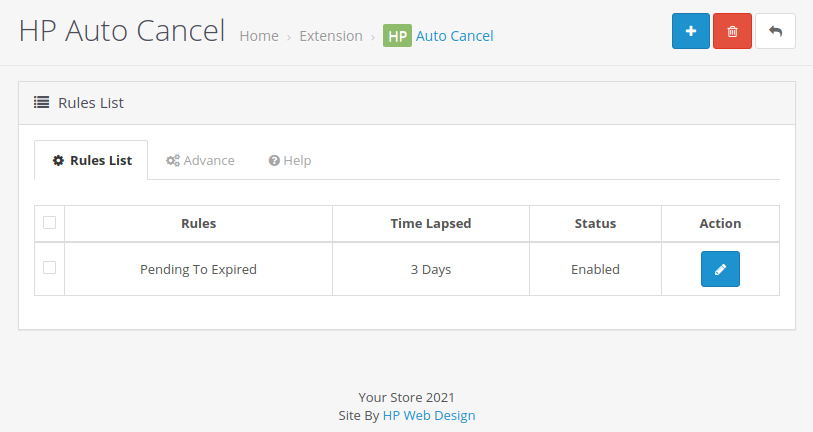
Now if we return to the main HP Auto Cancel settings page, the previously created rules have appeared and will start changing the order status automatically.
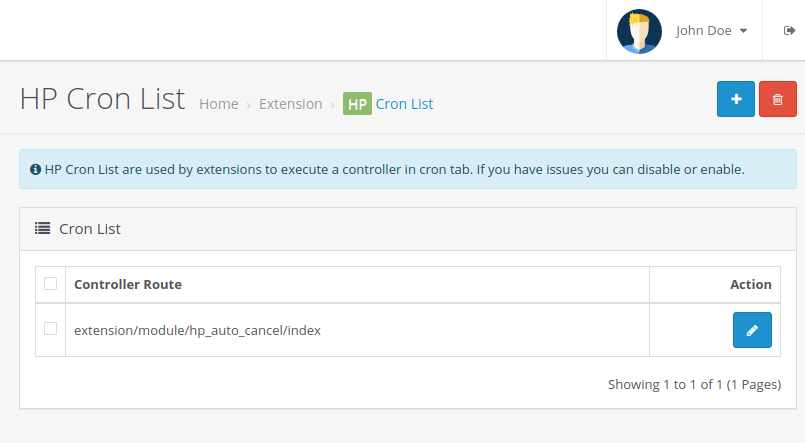
Actually the configuration tutorial has been completed, but before closing this article, I want to convey why HP Auto Cancel can run automatically to change the order status. The hope is that if one day HP Auto Cancel doesn't work, you can solve the problem quickly.
HP Auto Cancel runs by utilizing the Cronjobs support extension and HP Cron List, when you successfully install HP Auto Cancel, the Cron List setting will automatically add a route code to run HP Auto Cancel. So if you don't find the route code extension/module/hp_auto_cancel/index in the Cron List table, please add it manually.
You can also execute the HP Auto Cancel route code directly via Cron Job using the cronjob code format as follows.
wget -q -O /dev/null "https://yourdomain/index.php?route=extension/module/hp_auto_cancel" > /dev/null 2>&1

This is a guide for installing and using the HP Auto Cancel module in the Opencart online store. Thank you very much