On this occasion we will provide a tutorial on How to Create an Online Store Using OpenCart. The online store OpenCart itself has been widely used by online entrepreneurs to place their products online.
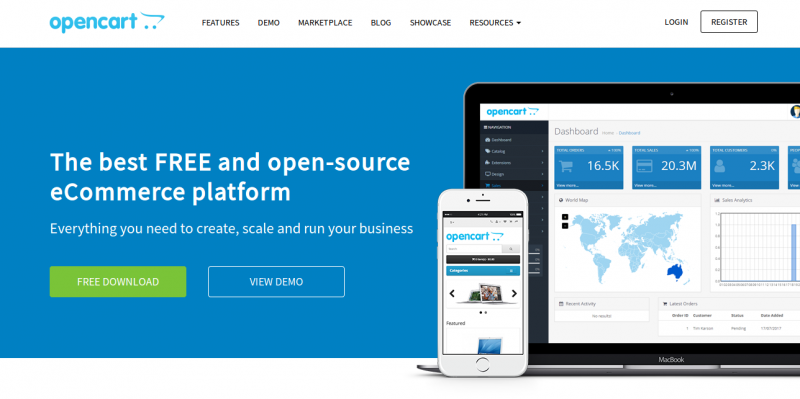
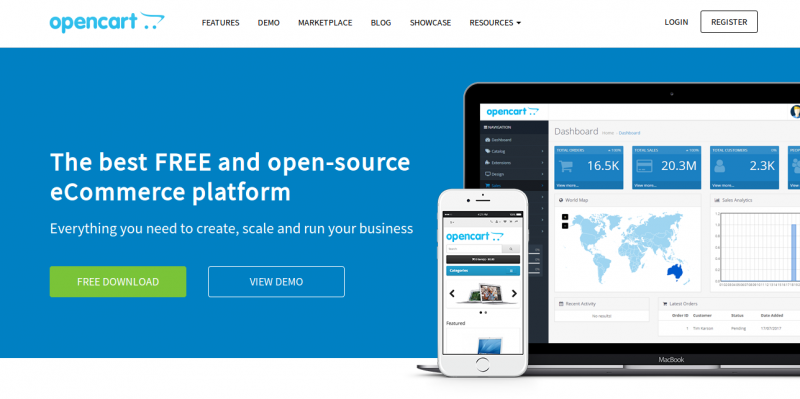
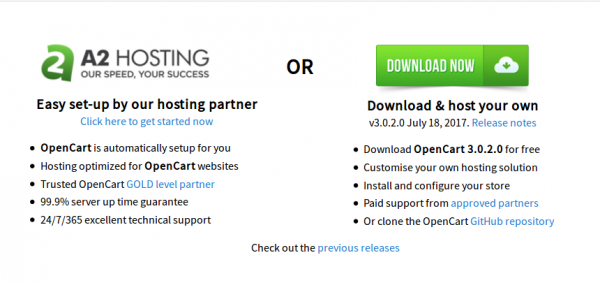
After that, click the green Free Download button, then we will be directed to the page below, then just click the Download button.
If it has been downloaded, you will get a file called 3.x-OpenCart.zip.
Step 2 - Upload to Web Hosting
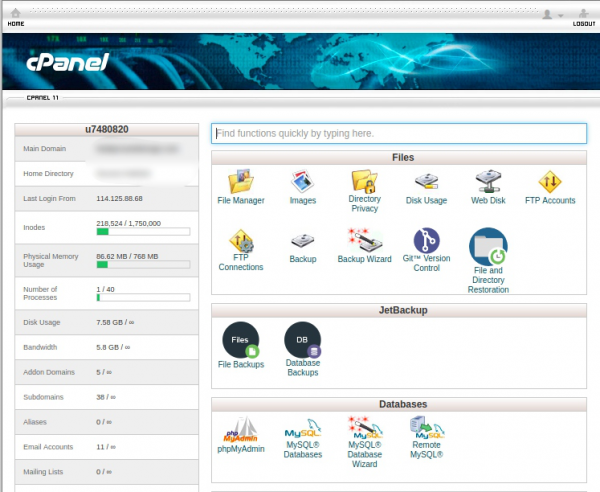
After getting the OpenCart file, you can immediately upload it to web hosting. Type your domain address in the browser: your_domain.com/cpanel.
Then after that, it will appear something like this.
Please enter the username and password that you got from the hosting provider. Then you will find something like this.
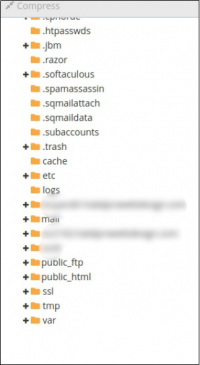
Then click File Manager, on the left you will be given a list of existing folders, then select public_html.
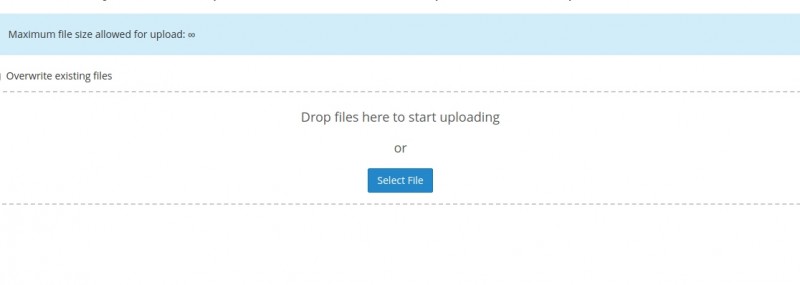
At the top you will see an upload button, then click on the button then you will be directed to a page to upload your previous OpenCart.
Upload the OpenCart file until it reaches 100% then click Go Back To….
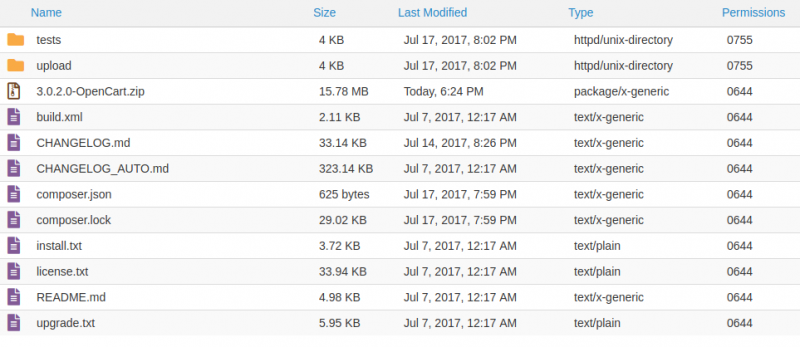
So you will get a display like this, but what you need to remember is that the file name is not necessarily the same because there may be differences in the OpenCart version with this tutorial.
After that, right-click the file and select extract. Then you will see a list of files and folders like the following.
Then delete all files and folders except the upload folder and files in .zip format. To delete, you can press right click on the name of the file / folder to be deleted then select delete. Then it will produce a display like this.
Then go to the uploads folder then select everything, and move it with the move button above it.
Because it will be moved outside the folder, please create a folder path as above, then press move files.
After that change the configuration name from config-dist.php> to config.php. Do the same for the configuration file in the / admin folder.
 |
| Config File OpenCart |
Step 3 - Creating an OpenCart Database
After the steps above are finished, we return to the main CPanel page. You can click the Home icon in the upper left corner of the page. Then click MySQL Databases.
 |
| MySQL page to create a Database |
Then create a database, the name can be as free as you want.
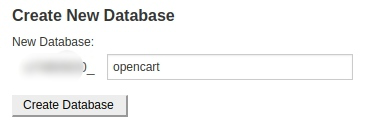 |
| Creating OpenCart Database |
When finished creating the database we continue with creating a user, make sure you record the user and password that you created.
Enter username and password then click the Create User button.
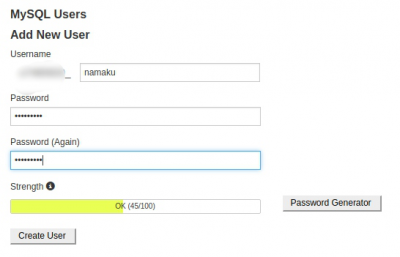 |
| Creating a New User Database |
The final stage in creating this database is to grant access rights, using the user and database that has been created.
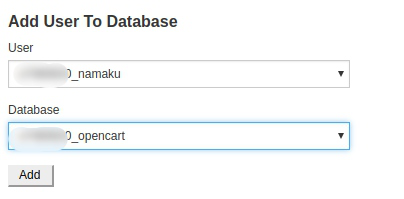 |
| Add user permissions to the database |
Then you will be directed to another page, select ALL PRIVILEGES and then click Make Changes below.
 |
| MySQL user permissions |
Step 4 - Installing OpenCart
There are 4 steps to installing OpenCart, which are as follows.
The first step. After all the above processes are complete, we continue to install OpenCart on our website, just go to your web page, for example toko-kita.com or something else. Then it will appear like this. Just click continue.
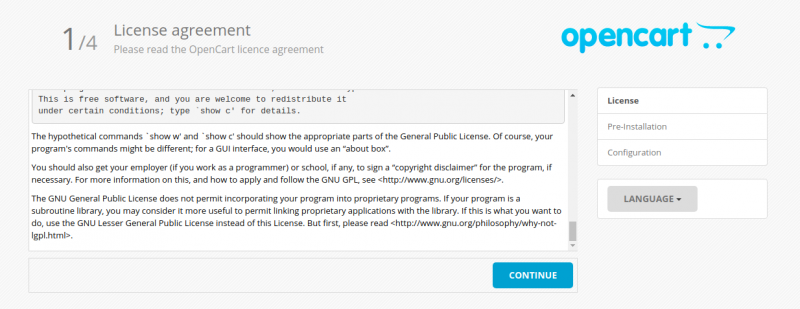 |
| License Agreement OpenCart |
Second step. Make sure it's checked and writable, if not, double check the steps above. Go ahead.
Third step. All that needs to be changed is username, password, database. For username, password, database, please enter what you have previously saved.
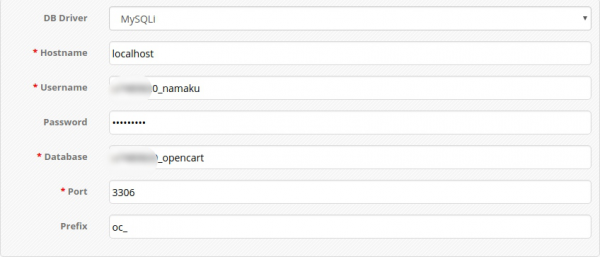 |
| Database settings on OpenCart installation |
At the bottom there are settings for your username, password, email, please fill in as desired, make sure the email is active, because if you forget your password you can restore it again. Then click continue.
 |
| OpenCart Admin User Settings |
Maka akan muncul halaman seperti di bawah ini. Sebenarnya sampai disini anda sudah selesai, tapi masih ada sedikit lagi yang perlu dilakukan.
 |
| The installation process is complete |
Fourth step. The final step is to go back to CPanel> File Manager and delete the install folder.
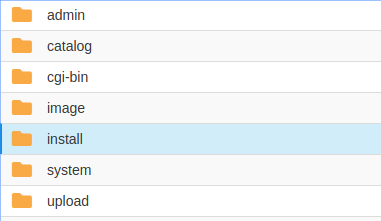 |
| Delete the install folder |
Congratulations on completing the OpenCart installation!
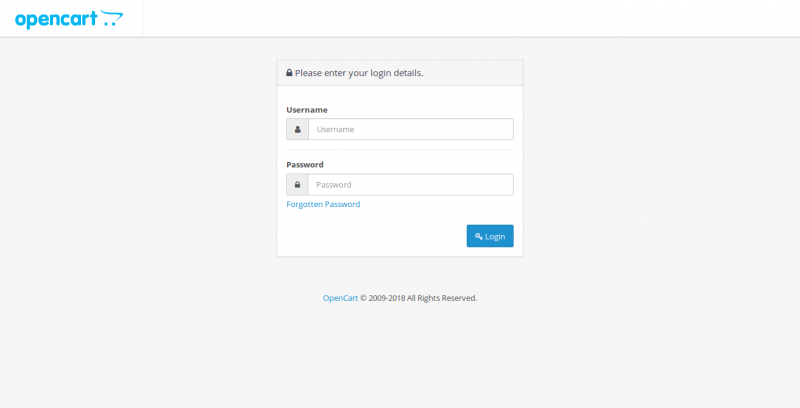
To see your online shop please visit your_domain.com, for the management page please visit your_domain.com/admin and please enter the username and password you entered during the installation process.
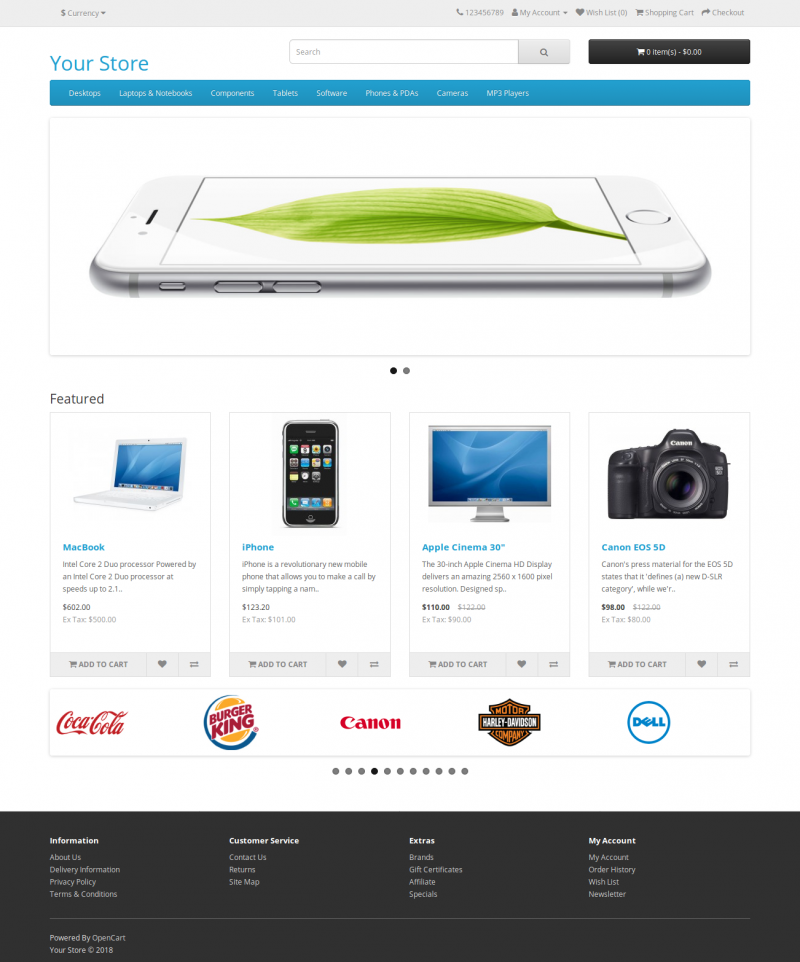 |
| OpenCart front page |
At this point, you already have the OpenCart online shop system. It's just that, of course, there are still many advanced settings to be able to operate like a professional online shop. Such as language, currency settings, integration with shipments such as HP Shipping Bundles, etc.
The next tutorial is configuring OpenCart. We will provide a guide on how to configure an OpenCart online shop.
This is a tutorial on How to Create an OpenCart Online Store. That's all from us, hopefully it's useful. If there are any difficulties, don't hesitate to ask in the comments below!
