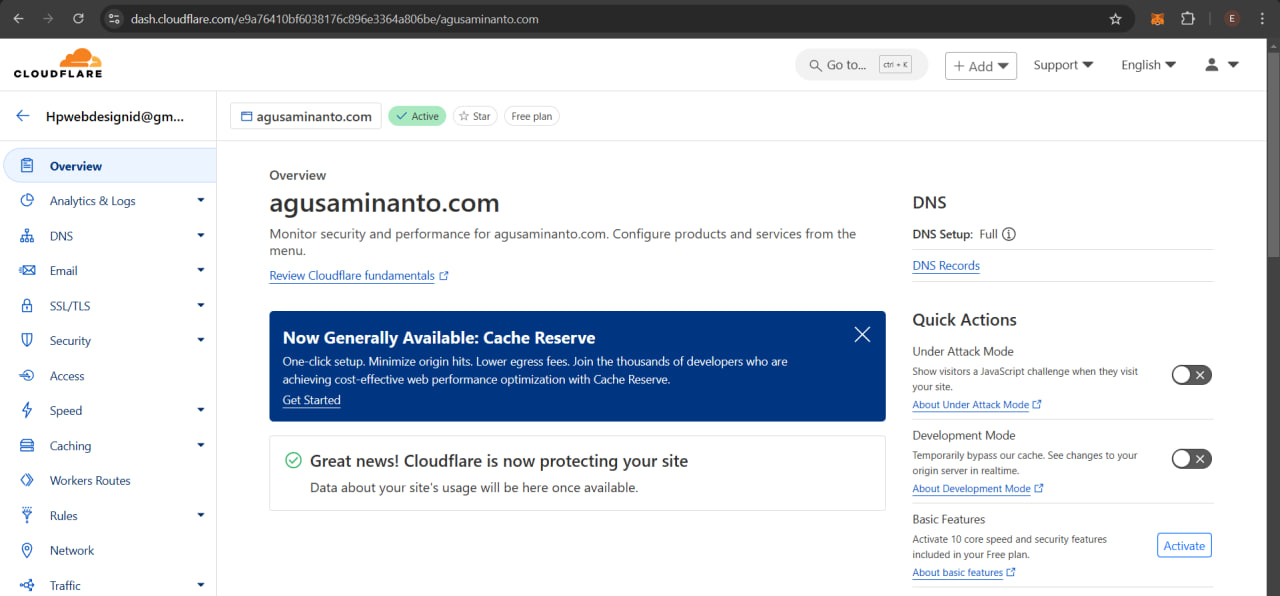
Tutorial 27: How to Setup Cloudflare with My Domain?
Cloudflare enhances your website's security, performance, and reliability by routing traffic through its global network. Setting up Cloudflare with your domain involves a few simple steps, which are outlined below.
1. Create a Cloudflare Account
- Visit Cloudflare's website and sign up for an account if you don't already have one.
- Once registered, log in to your Cloudflare account.
2. Add Your Domain to Cloudflare

- After logging in, click the “Add a Site” button on the Cloudflare dashboard.
- Enter your domain name (e.g.,
yourdomain.com) and click “Continue”
3. Select a Cloudflare Plan

- Cloudflare offers both free and paid plans. Choose the plan that best fits your needs and click “Continue.”
4. Review DNS Records
- Cloudflare will automatically scan your existing DNS records. Review them to ensure they match your current setup.
- If any records are missing or incorrect, you can add or edit them manually.
- Make sure the records you want to be routed through Cloudflare have the orange cloud icon enabled (proxied).
5. Change Your Domain Nameservers
- After confirming your DNS records, Cloudflare will provide two nameservers.
- Log in to your domain registrar (where you purchased your domain).
- Find the DNS or Nameserver settings for your domain and replace the current nameservers with the ones provided by Cloudflare.
- Save the changes.
6. Wait for DNS Propagation
- It may take a few hours (up to 48 hours) for the DNS changes to propagate globally.
- You can check the status in your Cloudflare dashboard, and Cloudflare will notify you once the setup is complete.

7. Configure Cloudflare Settings
- Once your domain is active on Cloudflare, you can configure additional settings such as SSL/TLS, Page Rules, Caching, Firewall, and more based on your needs.
- For example, you can enable "Always Use HTTPS" under SSL/TLS settings to ensure all traffic is served over HTTPS.
8. Test Your Setup
- After completing the setup, visit your website to verify it is functioning as expected.
- Use tools like DNS Checker to confirm that your DNS records are pointing to Cloudflare's nameservers.
By following these steps, your domain will be successfully configured to use Cloudflare's services, providing enhanced security, performance, and reliability. If you encounter any issues during the setup process, Cloudflare’s documentation and support team are excellent resources for assistance.


